Hotpoint Gas Range Manual: A Comprehensive Guide
This manual provides detailed instructions for safe operation, maintenance, and troubleshooting of your Hotpoint gas range, ensuring optimal performance and longevity.
Understanding Your Hotpoint Gas Range
Your Hotpoint gas range is a sophisticated appliance designed for efficient and reliable cooking. Familiarizing yourself with its features and operation is crucial for maximizing its benefits and ensuring your safety. This section will provide a foundational understanding of your range’s capabilities.
Before first use, carefully review all safety precautions outlined in this manual. Understand the function of each burner, the oven’s various modes (bake, broil, and potentially convection), and the control panel’s settings. Knowing how to properly ignite the burners and set the oven temperature are essential skills.
Regularly consulting this manual will help you maintain your range in optimal condition and address any potential issues that may arise during its lifespan.
Safety Precautions & Warnings
Prioritizing safety is paramount when operating your Hotpoint gas range. Always ensure adequate ventilation during use to prevent carbon monoxide buildup. Never leave the range unattended while in operation, especially with children present. Keep flammable materials away from burners and the oven.
Be cautious of hot surfaces; use oven mitts or pot holders when handling cookware. Regularly inspect the gas supply connection for leaks – if you smell gas, immediately shut off the supply and contact a qualified technician.

Do not attempt to repair the range yourself; contact authorized service personnel for any maintenance or repairs. Improper handling can lead to fire, explosion, or electric shock.

Gas Range Components Overview
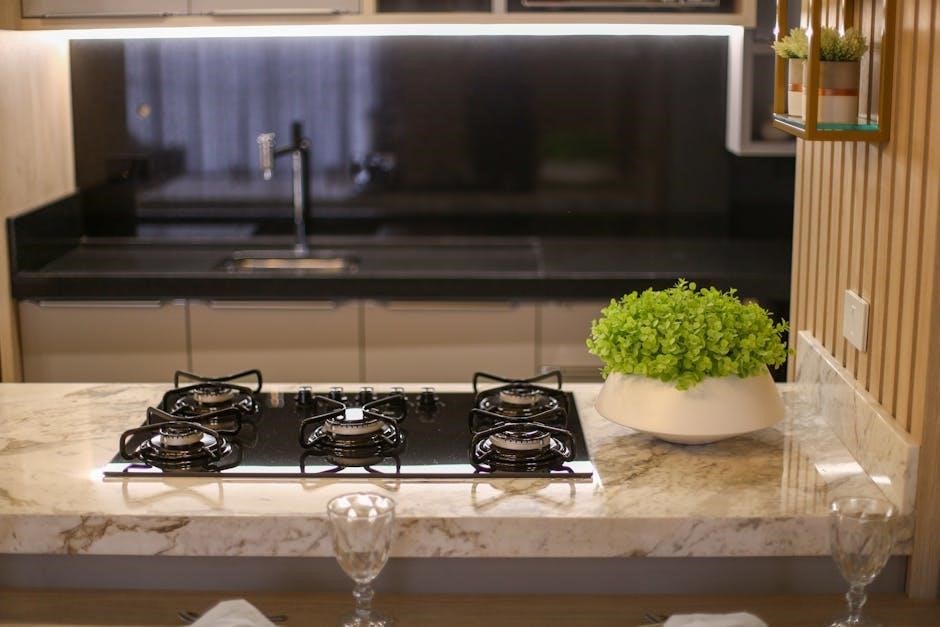
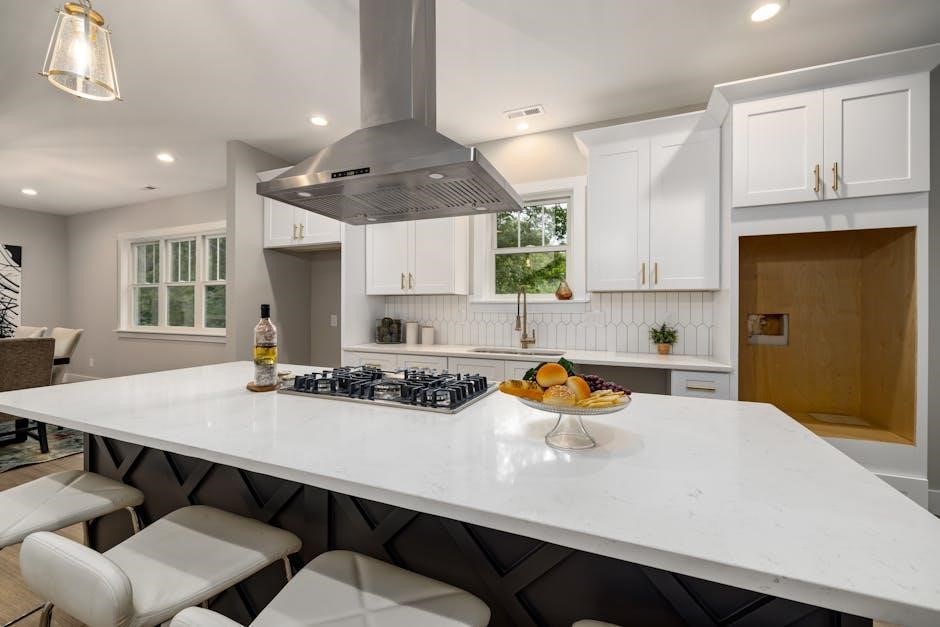
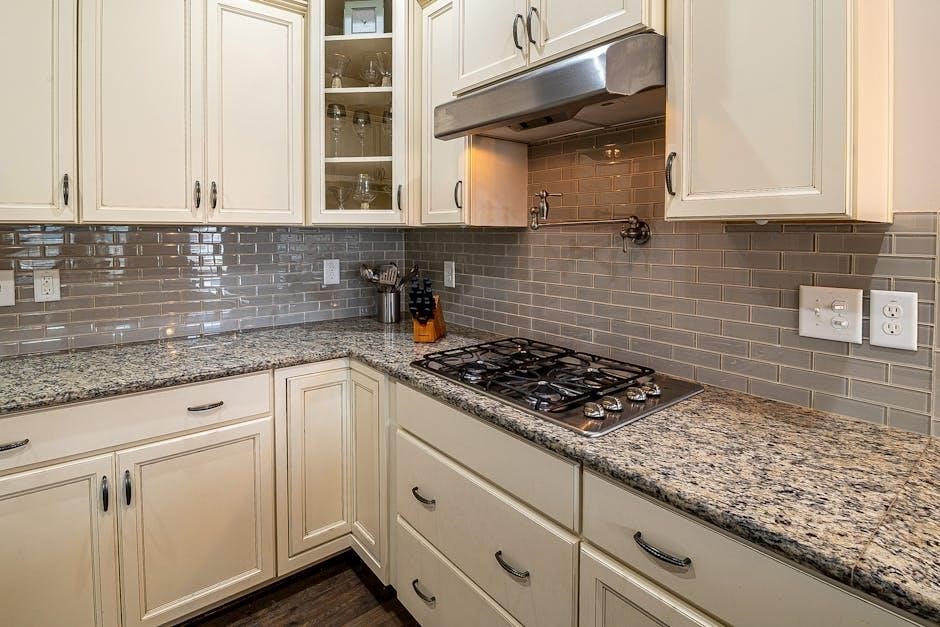
Your Hotpoint gas range comprises several key components working in unison. These include the burner assembly – consisting of burner caps, heads, and gas valves – responsible for flame production. The oven features rack positions for versatile cooking, alongside heating elements for baking and broiling.
The control panel houses knobs and electronic displays for precise temperature and timer settings. An ignition system, either electronic or pilot-light based, initiates the gas flow for combustion. A safety shut-off system prevents gas leaks, and the exterior includes a durable finish for easy cleaning.
Burner Assembly & Function
The burner assembly is central to your Hotpoint gas range’s operation. Each burner consists of a burner cap, a burner head, and a gas valve controlling gas flow. When ignited, gas travels through the burner, mixing with air to create a stable flame.
Burner caps distribute the flame evenly, while burner heads ensure proper ignition. Different burner sizes provide varying heat outputs for diverse cooking needs. Regular cleaning of burner caps and heads is crucial for optimal performance, preventing clogs and ensuring consistent flame quality. Proper assembly guarantees safe and efficient gas combustion.
Oven Rack Positions & Usage
Understanding oven rack positions is key to successful baking and roasting with your Hotpoint gas range. Most models feature multiple rack levels, each suited for different cooking purposes. The lowest position is ideal for broiling, while the middle rack is best for general baking of cakes and casseroles.
The upper rack is suitable for smaller items or finishing dishes. Avoid overcrowding racks to ensure even heat circulation. Always ensure racks are securely placed before adding food. Refer to your recipe for specific rack position recommendations for optimal results and consistent cooking performance.
Control Panel Explained
The Hotpoint gas range control panel is designed for intuitive operation. Typically, you’ll find separate controls for the oven and cooktop burners. Oven controls usually include temperature settings, bake, broil, and potentially self-clean functions. Cooktop knobs control burner flame intensity, ranging from low simmer to high heat.
Digital models may feature electronic displays and touch controls. Familiarize yourself with the function of each knob and button before use. Some models include timer settings and delay start options. Refer to the panel’s labeling and this manual for detailed explanations of each control’s purpose.
Ignition System Troubleshooting
A malfunctioning ignition system prevents burners from lighting. First, ensure the gas supply is connected and the valve is open. For electronic ignition, check if the control panel displays error codes. A clicking sound indicates the igniter is working, but no flame suggests a gas flow issue.
Clean burner ports to remove obstructions; If problems persist, the igniter module may be faulty. If your range has a pilot light, ensure it’s lit; relighting instructions are detailed later in this manual. Always disconnect power before inspecting electrical components. Contact a qualified technician for complex repairs.
Electronic Ignition Issues
Common electronic ignition problems include a lack of clicking or a clicking sound without flame. Verify the power supply to the range; a tripped breaker or loose connection can cause failures. Inspect the igniter itself for damage or debris buildup – cleaning may resolve the issue.
If the igniter glows but doesn’t ignite the gas, a weak spark or gas supply problem exists. Check the burner ports for blockages. A faulty igniter module is often the culprit, requiring professional replacement. Always disconnect power before any inspection. Refer to the error code section for specific diagnostic information.
Pilot Light (If Applicable) – Operation & Relighting
If your Hotpoint range features a pilot light, ensure it’s a consistent blue flame. A yellow or flickering flame indicates insufficient air or a gas supply issue. To relight, locate the pilot access panel, typically near the burner controls. Turn the gas valve to “Pilot” and press/hold the relight button while igniting with a long lighter.
Continue holding the button for 20-30 seconds after ignition. If the pilot won’t stay lit, repeat the process or consult a qualified technician. Never attempt relighting if you smell gas; ventilate the area and call for service. Regular inspection ensures safe and efficient operation.
Burner Operation & Adjustment

Your Hotpoint gas range burners offer precise heat control for various cooking needs. To operate, simply turn the control knob to the desired setting – Low, Medium, or High. Adjust flame size by incrementally turning the knob; a higher number equates to a larger flame. Ensure burners ignite promptly and maintain a steady blue flame.
If flames lift or appear yellow, it may indicate a need for cleaning. Regularly inspect burner caps and heads for obstructions. Proper burner adjustment ensures efficient cooking and prevents wasted gas. Always allow burners to cool completely before cleaning or adjusting.
Adjusting Flame Size
Precisely controlling the flame size on your Hotpoint gas range is crucial for optimal cooking results. Begin by turning the burner control knob; the markings indicate flame intensity – Low, Medium, and High. A slight turn adjusts the gas flow, directly impacting flame height.
For simmering, use the lowest setting. Higher settings are ideal for boiling or searing. Observe the flame; a steady blue flame signifies efficient combustion. Yellow or flickering flames suggest adjustment is needed. Ensure the flame doesn’t extend beyond the bottom of the cookware for safety and efficiency.
Cleaning Burner Caps & Heads
Regularly cleaning your Hotpoint gas range’s burner caps and heads ensures optimal performance and prevents uneven flames. Begin by ensuring the range is cool and the gas supply is off. Remove the burner caps and heads – consult your range’s diagram if needed.
Wash them with warm, soapy water, using a non-abrasive sponge. For stubborn residue, soak them briefly. Clear any clogged burner ports with a thin wire or needle. Thoroughly dry all components before reassembling. Proper cleaning maintains efficient gas flow and a consistent, blue flame.
Oven Operation & Settings
Your Hotpoint gas range oven offers versatile cooking options with various modes. Familiarize yourself with the control panel to select desired settings. Baking mode is ideal for general cooking, while broiling utilizes high heat from above for searing and browning.
Temperature adjustments are crucial for recipe accuracy; preheating is recommended for consistent results. Some models feature convection baking for faster, more even cooking. Always use oven-safe cookware. Explore specific settings like warm or proof for specialized tasks, consulting the full manual for detailed instructions and safety guidelines.
Baking & Broiling Modes
The baking mode on your Hotpoint gas range provides consistent heat for cakes, cookies, and casseroles. Ensure proper rack positioning for optimal results; lower racks are best for larger items. Broiling utilizes intense, direct heat from the top element, perfect for searing meats or browning gratins.
Always use the broil pan and rack to prevent grease splattering and flare-ups. Monitor food closely during broiling as it cooks rapidly. Adjust oven temperature and rack position based on your recipe. Refer to the manual for specific baking and broiling guidelines for various food types.
Self-Cleaning Cycle Instructions
The self-cleaning cycle utilizes high temperatures to burn off food residue within the oven interior. Before initiating, remove all racks, cookware, and any loose debris. Ensure the oven door can lock securely. Select the desired cleaning cycle length – options may include light, medium, or heavy cleaning.
During the cycle, the oven will become extremely hot and emit odors; avoid opening the door. Once complete, allow the oven to cool completely before removing ash residue. Proper ventilation is crucial during and after the self-cleaning process. Refer to the manual for detailed safety precautions.

Self-Cleaning Cycle Troubleshooting
If the self-cleaning cycle fails to start, verify the door is fully latched and the control panel is properly set. A tripped circuit breaker or blown fuse can also prevent operation; check your electrical panel. If the cycle stops prematurely, it might be due to a power interruption or excessive smoke detection.
Persistent error codes require consulting the manual or contacting customer support. Avoid attempting repairs yourself. If smoke is excessive, immediately stop the cycle and ventilate the area. Ensure proper ventilation during and after the cycle to minimize odors and potential hazards.
Common Error Codes & Solutions
Error codes indicate specific issues within the gas range. “F2” often signals a gas supply problem, requiring professional inspection. “E1” may indicate an ignition failure; check the igniter and gas connection. A “LO” or “Hi” temperature error suggests a sensor malfunction, needing replacement.
Before seeking service, attempt a power cycle – unplug the range for five minutes. Consult the full error code list in your manual for precise definitions and recommended actions. If an error persists after troubleshooting, contact authorized Hotpoint service for qualified repair, avoiding self-repair attempts.
Maintenance & Cleaning
Regular cleaning extends your Hotpoint gas range’s lifespan and ensures optimal performance. Wipe exterior surfaces with mild soap and water, avoiding abrasive cleaners. For stubborn stains, use a stainless steel cleaner (if applicable). Clean burner grates and caps with warm, soapy water after each use.
The oven interior benefits from periodic cleaning. Avoid harsh chemicals; a baking soda paste can tackle baked-on residue. Always disconnect power before interior cleaning. Inspect gas connections annually for leaks, and schedule professional maintenance as needed to maintain safety and efficiency.
Exterior Cleaning Procedures

Maintaining a clean exterior enhances your Hotpoint gas range’s appearance and prevents buildup. Begin by ensuring the range is cool and disconnected from power. Use a soft cloth dampened with warm, soapy water to wipe down the control panel, sides, and top.
Avoid abrasive cleaners, scouring pads, or harsh chemicals as they can damage the finish. For stainless steel surfaces, use a dedicated stainless steel cleaner and polish in the direction of the grain. Dry thoroughly with a clean cloth to prevent water spots. Regularly wipe spills immediately to avoid staining.

Interior Cleaning Procedures
Regular interior cleaning keeps your Hotpoint gas range functioning efficiently and hygienically. Always ensure the range is cool and power is off before cleaning. Remove oven racks, burner grates, and any loose debris. Wipe the oven interior with warm, soapy water, avoiding harsh abrasives.
For baked-on spills, create a paste of baking soda and water, apply, let sit, then gently scrub. Rinse thoroughly with clean water. Clean the cooktop surface similarly, paying attention to burner areas. Dry all components completely before reassembling. Avoid self-cleaning solutions on painted surfaces.
Gas Supply & Connection Information
Proper gas supply and connection are crucial for safe operation. This Hotpoint gas range is designed for use with natural gas or propane. Conversion kits are available if needed; consult a qualified technician. Ensure the gas supply shut-off valve is easily accessible.
Connection must be performed by a licensed professional, adhering to local codes and regulations. Verify all connections are leak-free using a soap solution – bubbles indicate a leak. Never use a flame to check for leaks. The gas pressure must match the range’s requirements, specified on the rating plate.
Warranty Information & Registration
Your Hotpoint gas range is covered by a limited warranty, protecting against manufacturing defects in materials and workmanship. The warranty period varies depending on the component – typically one year for parts and labor, with extended coverage for specific components like the burner system.
To validate your warranty, register your appliance online at the official Hotpoint website or by completing and returning the registration card included with your range. Proof of purchase is required. Retain your warranty documentation for future reference. See the full warranty details in the separate warranty booklet.
Frequently Asked Questions (FAQ)
Q: Why won’t my burner ignite? A: Check the gas supply, ensure the burner cap is properly seated, and verify the igniter is clean and functioning.
Q: How do I clean the self-cleaning oven? A: Remove racks, close the door, and select the self-clean cycle. Follow safety precautions outlined in the manual.
Q: What should I do if I smell gas? A: Immediately evacuate the area, do not operate any electrical switches, and contact your gas company or emergency services.