Intermatic switch timers offer reliable control for various loads, with 12 ON/Off operations and manual override included․ They are designed for industrial, commercial, and residential use, providing heavy-duty design for lighting, fans, and water heaters․ With a 24-hour mechanical time switch, these timers provide flexible control and automated scheduling․ Visit Intermatic․com for more information and technical support at 815-675-7000․ Always follow safety guidelines and installation instructions carefully․

Understanding the Importance of Timers in Home Automation
Timers play a vital role in home automation, providing convenience, energy efficiency, and enhanced security․ By automating lighting, fans, and other devices, timers help reduce energy consumption and lower utility bills․ They also offer flexible scheduling, allowing homeowners to customize their automation settings to suit their lifestyles․ With the ability to control multiple devices, timers simplify home management and improve overall comfort․ Moreover, timers can be used to simulate occupancy, deterring potential intruders and enhancing home security․ By incorporating timers into their home automation systems, homeowners can experience the benefits of a smart home, with increased convenience and peace of mind․ Timers are an essential component of any home automation system, and their importance cannot be overstated․ They are a simple, yet effective way to automate and control various devices in the home, making them a valuable addition to any home automation setup․

Furthermore, timers can be used to control a wide range of devices, including lighting, fans, and water heaters․ They can also be used to automate outdoor lighting and holiday decorations, making them a versatile and convenient addition to any home․ With their ease of use and flexibility, timers are an excellent choice for homeowners looking to automate and control their devices․ In addition, timers can be used to create customized scenes and settings, allowing homeowners to personalize their home automation experience․ Overall, timers are a crucial component of home automation, providing convenience, energy efficiency, and enhanced security for homeowners․

It is also worth noting that timers can be used in conjunction with other smart devices to create a comprehensive home automation system․ By integrating timers with thermostats, security systems, and other devices, homeowners can create a seamless and integrated home automation experience․ This can enhance the convenience and energy efficiency of the home, while also providing increased security and peace of mind․ With the right combination of timers and other smart devices, homeowners can create a truly automated and intelligent home․
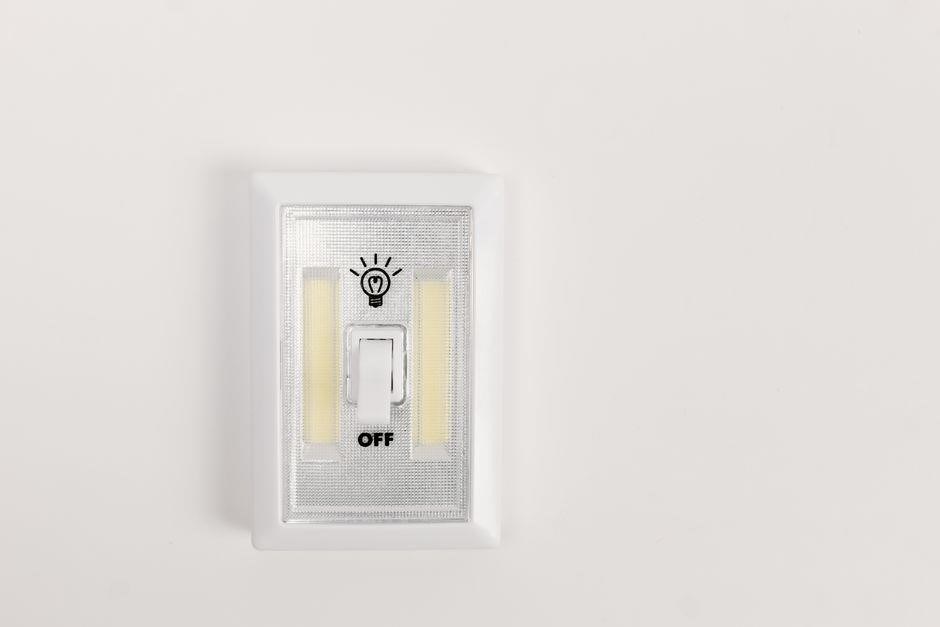
Overview of Intermatic Switch Timer Models and Features
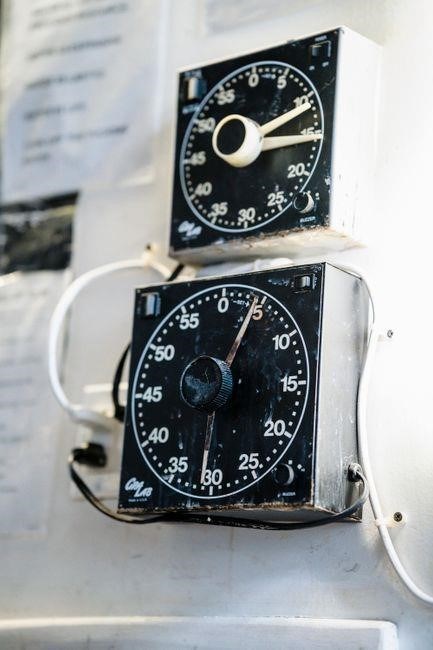
Intermatic offers a range of switch timer models, each with unique features and benefits․ The T101 24-Hour Mechanical Time Switch is a popular model, featuring 12 ON/Off operations and a manual override option․ This model is designed for industrial, commercial, and residential use, providing reliable control for various loads․ Other models, such as the ST01 and ST01K, offer advanced features like digital displays and programmable scheduling․ Intermatic switch timers are available in various configurations, including single-pole and three-way models, to accommodate different installation requirements․ With their heavy-duty design and durable construction, Intermatic switch timers are built to last and provide years of reliable service․ By choosing the right model and features for their specific needs, users can optimize their switch timer experience and enjoy the benefits of automated control․
Intermatic switch timers are also easy to install and configure, with clear instructions and technical support available to ensure a smooth setup process․ The company’s website provides extensive resources, including product manuals, installation guides, and troubleshooting tips, to help users get the most out of their switch timers․ With their commitment to quality and customer satisfaction, Intermatic has established itself as a trusted brand in the switch timer market, offering reliable and effective solutions for a wide range of applications․
Pre-Installation Steps for Intermatic Switch Timers
Before installing, turn off power to the wall switch and remove existing switches․ Strip wire ends to 7/16 and prepare for timer installation․ Visit Intermatic․com for step-by-step guides and technical support․ Always follow safety guidelines and manufacturer instructions carefully to ensure a successful installation․
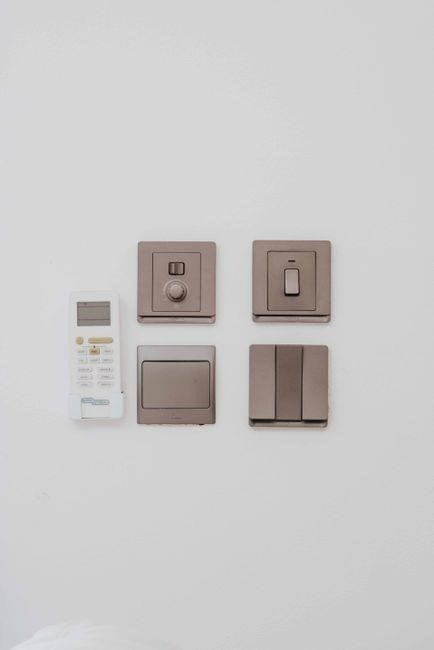
Turning Off Power to the Wall Switch
To ensure a safe installation, it is crucial to turn off power to the wall switch․ This can be done by switching off the main circuit breaker or removing the fuse that controls the switch․ Verify that the power is off using a voltage tester․ Once the power is off, lock the circuit breaker or remove the fuse to prevent accidental power restoration․ Always follow safety guidelines and manufacturer instructions carefully to avoid electrical shock or injury․ It is also recommended to consult a licensed electrician if you are unsure about any part of the process․ By taking these precautions, you can ensure a safe and successful installation of your Intermatic switch timer․ Additionally, make sure to read and understand the installation manual before starting the process․ Technical support is also available at Intermatic․com or by calling 815-675-7000․ Remember to always follow safety protocols when working with electrical systems․
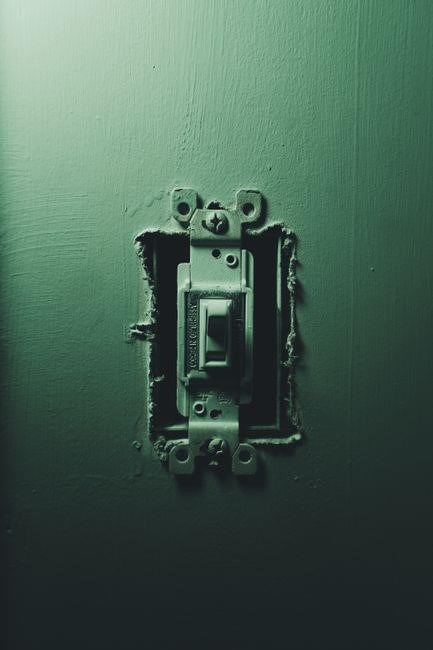
Removing Existing Wall Switches and Stripping Wire Ends
To remove existing wall switches, start by disconnecting the wires from the old switch․ Use a wire stripper to strip the wire ends to the recommended 7/16 inches․ This will ensure a secure connection to the new Intermatic switch timer․ Be careful not to damage the wires or strip too much insulation, as this can cause electrical issues later on․ Use a wire nut or connector to connect the wires to the new switch, making sure to match the wire colors and follow the manufacturer’s instructions․ It is also important to label the wires to ensure easy identification during the installation process․ By following these steps, you can ensure a smooth and successful installation of your Intermatic switch timer․ Additionally, make sure to consult the installation manual for specific wiring diagrams and instructions․ Remember to always use caution when working with electrical wires and follow safety protocols to avoid injury or electrical shock․ Proper wire stripping and connection are crucial for a reliable and efficient switch timer operation․
Installation Process for Intermatic Switch Timers
Begin by turning off power to the wall switch, then remove the old switch․ Next, wire the timer into the wall box, following the manufacturer’s instructions․ Ensure a secure connection to the new Intermatic switch timer․ Visit Intermatic․com for installation guides and technical support․
Wiring the Timer into the Wall Box
To wire the timer into the wall box, first identify the wires: black (hot), white (neutral), and copper (ground)․ Then, strip the wire ends to the recommended length, usually 7/16 inches․ Next, connect the wires to the corresponding terminals on the timer, ensuring a secure connection․ Refer to the Intermatic website for detailed wiring diagrams and installation instructions․ It is essential to follow safety guidelines and manufacturer’s recommendations to avoid any electrical hazards or malfunction․ By following these steps, you can successfully wire the timer into the wall box and enjoy the benefits of automated control․ Always double-check your connections before turning on the power․ For more information, visit the Intermatic website or consult the user manual․ Remember to test the timer after installation to ensure it is working correctly․

Single-Pole and Three-Way Wiring Scenarios
When installing an Intermatic switch timer, it’s essential to understand the difference between single-pole and three-way wiring scenarios․ Single-pole wiring is used for standard on/off switches, while three-way wiring is used for switches that control a light or device from two locations․ For single-pole wiring, connect the black (hot) wire to the timer’s brass terminal and the white (neutral) wire to the timer’s silver terminal․ For three-way wiring, connect the traveler wires to the timer’s traveler terminals and the common wire to the timer’s common terminal․ Refer to the Intermatic website for detailed wiring diagrams and installation instructions specific to your wiring scenario․ It’s crucial to follow the manufacturer’s instructions and take necessary safety precautions to avoid any electrical hazards or malfunction․ By understanding the single-pole and three-way wiring scenarios, you can ensure a successful installation of your Intermatic switch timer․ Always consult the user manual or Intermatic website for more information and technical support․
Configuring and Programming Intermatic Switch Timers
Configure your timer with ease, using the manual override feature for flexible control․ Set the time and schedule for automated control, and visit Intermatic․com for more information and support, ensuring a smooth and successful configuration process always․
Setting the Time and Schedule for Automated Control
To set the time and schedule for automated control, first ensure the timer is properly configured․ Use the manual override feature to test the timer settings․ The hours digit of the current day’s DAWN time will flash on the display․ Refer to the Intermatic website for detailed instructions and troubleshooting tips․ Always follow safety guidelines when working with electrical devices․ The timer’s AM/PM indicator should be centered in its window․ If not, adjust the timer accordingly․ By following these steps, you can easily set the time and schedule for automated control, ensuring your devices turn on and off at the right time․ This feature provides convenience and energy efficiency, making it an essential part of your home automation system․ With the timer properly configured, you can enjoy the benefits of automated control, including increased energy efficiency and convenience․ The timer’s settings can be adjusted as needed to accommodate your schedule and preferences․ By utilizing the timer’s features, you can maximize the benefits of automated control and enjoy a more convenient and energy-efficient lifestyle․
Using the Manual Override Feature for Flexible Control
The manual override feature on Intermatic switch timers provides flexible control over your devices․ To activate the manual override, simply press the ON/OFF button․ This will override the timer’s automated schedule, allowing you to manually control your devices․ The manual override feature is useful when you need to make adjustments to your schedule or override the timer’s settings․ By using the manual override feature, you can enjoy more flexibility and control over your devices․ The manual override feature is easy to use and convenient, making it a valuable feature of Intermatic switch timers․ With the manual override feature, you can quickly and easily override the timer’s settings to manually control your devices․ This feature is especially useful when you need to make changes to your schedule or override the timer’s settings due to unforeseen circumstances․ By utilizing the manual override feature, you can ensure that your devices are always under your control, even when the timer’s automated schedule is not active․ The manual override feature is a key component of Intermatic switch timers, providing flexible control and convenience for users․ With this feature, you can enjoy the benefits of automated control while still having the ability to manually override the timer’s settings as needed․
Troubleshooting Common Issues with Intermatic Switch Timers
For troubleshooting, visit Intermatic․com or call 815-675-7000 for technical support․ Check the timer’s power and wiring for issues․ Refer to the user manual for guidance․
Identifying and Resolving Power-Related Problems
To identify power-related issues, check the timer’s operating voltage, which should be 120-277 VAC, 50/60 Hz․ Ensure the timer is properly wired and connected to the power source․ If the timer is not turning on, check the circuit breaker or fuse to ensure it has not tripped or blown․ Refer to the user manual for troubleshooting guides and wiring diagrams․ For additional assistance, contact Intermatic’s technical support at 815-675-7000 or visit their website for FAQs and troubleshooting tips․ Always follow safety guidelines when working with electrical systems to avoid injuries or damage to the timer or surrounding equipment․
By following these steps, you can identify and resolve power-related problems with your Intermatic switch timer, ensuring it functions properly and provides reliable control over your lights or appliances․ Remember to consult the user manual and seek professional help if you are uncertain about any aspect of the troubleshooting process․
Contacting Technical Support for Further Assistance
For additional help with your Intermatic switch timer, contact technical support at 815-675-7000․ This dedicated team is available to assist with any questions or concerns you may have․ You can also visit the Intermatic website for FAQs, wiring diagrams, and troubleshooting guides․ The website provides a wealth of information to help you understand and operate your timer effectively․ If you need to submit a request or report an issue, you can do so through the website or by calling the technical support number․ The technical support team is committed to providing excellent service and ensuring your complete satisfaction with your Intermatic switch timer․ By reaching out to technical support, you can get the help you need to install, operate, and maintain your timer with confidence․
The technical support team is available to assist with a wide range of topics, including installation, programming, and troubleshooting․ They can also provide guidance on how to use the timer’s features and functions to get the most out of your Intermatic switch timer․ Whether you need help with a specific issue or just have a question, the technical support team is here to help․ You can trust that you will receive prompt and professional assistance when you contact technical support․